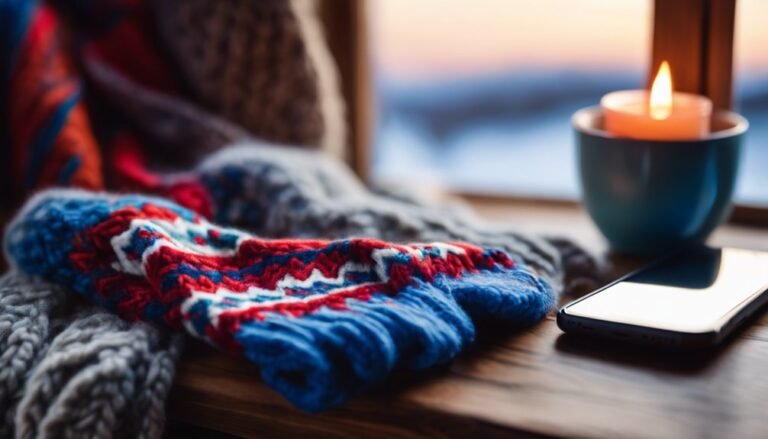
How to Make Cozy Arm Warmers Out of Old Socks
Have you ever noticed how old socks tend to accumulate in the back of your drawer, seemingly forgotten and without purpose? Instead of letting them gather dust, transform these old socks into cozy arm warmers with flair and sustainability.
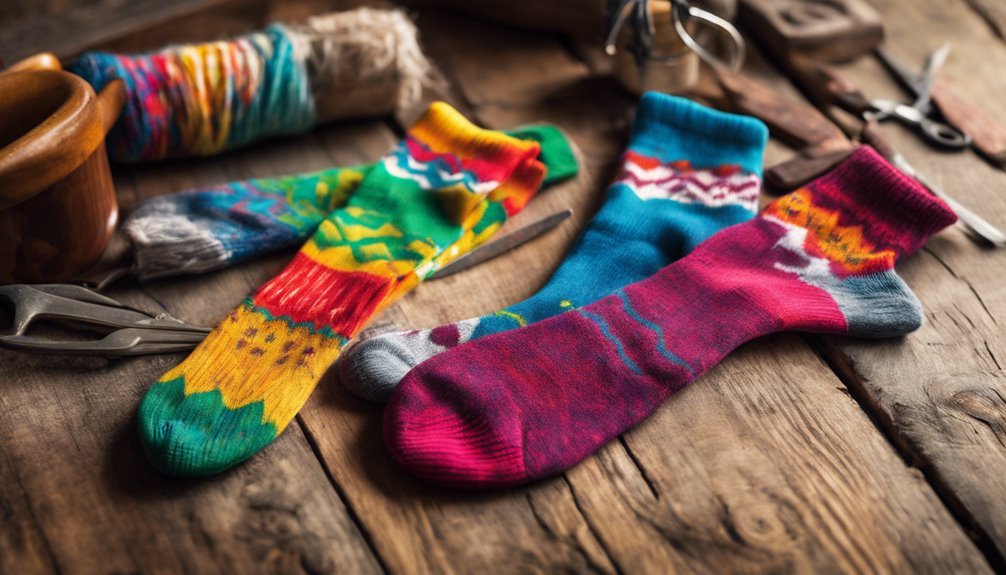
Begin by gathering materials: old socks, sharp scissors, thread, and a needle. Choose soft, stretchy socks in bold designs. Wash and air dry them before cutting to size, ensuring smooth edges.
Mark and cut thumb holes, securing with stitches. Embellish with sequins or fabric paint for a unique touch. Slip them on for a snug fit and style them under layers for chic appeal.
Discover the complete process ahead.
Gather Your Materials
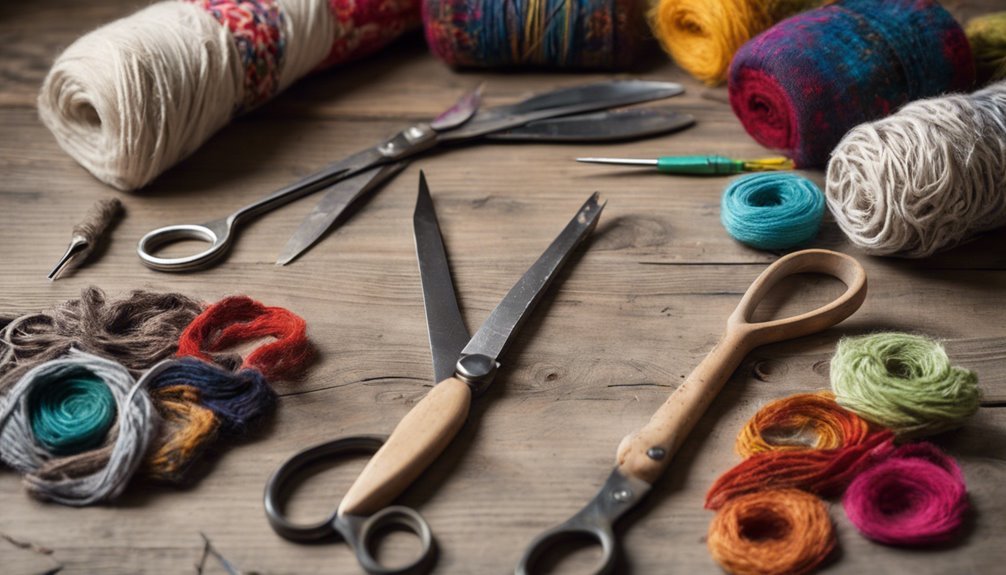
Before you can plunge into the delightful universe of crafting your own cozy arm warmers, you'll need to gather a few essential materials. First, immerse yourself in the domain of sustainability by rescuing a pair of old socks destined for the landfill. This DIY project isn't just about style; it's a nod to eco-conscious living. You'll also need a sharp pair of scissors and some matching thread to bring your vision to life. A needle will be your trusty sidekick in this transformation journey. As you commence this creative escapade, remember that each repurposed item is a step towards reducing waste and embracing freedom through self-expression. So, equip yourself with these materials and get ready to weave sustainability into your fashion statement.
Choose the Right Socks
When selecting the perfect socks for your cozy arm warmers, consider both comfort and style to epitomize your personal aesthetic. Immerse yourself in the world of sock materials and color patterns to find the ideal pair that matches your unique vibe. Here's how you can choose with flair:
- Materials: Opt for soft, stretchy fabrics like cotton or wool for warmth and coziness.
- Length: Longer socks provide extra warmth and coverage; knee-high or over-the-knee are excellent choices.
- Color Patterns: Embrace bold, vibrant designs or classic neutrals to match your wardrobe.
- Texture: Look for ribbed or cable-knit textures for added visual interest and comfort.
Let your creativity run wild, transforming an everyday item into a statement piece that expresses your boundless freedom.
Prepare the Socks
Now that you've got your perfect pair of socks, it's time to transform them into cozy arm warmers. Begin with a gentle wash—your socks deserve a fresh start. Use cold water and a mild detergent to maintain elasticity and color. This essential fabric care tip guarantees they're ready for a new life, free of any wear-induced grime. While washing, inspect the socks for any holes or frays; a quick mend will go a long way.
Once clean, lay them flat to air dry, avoiding any heat that might alter their texture. As you prepare, think sleek and chic—a little preparation using sock preparation techniques can elevate this DIY from drab to fab. With these steps, you're setting the stage for stylish arm accessories.
Cut to Size
Precision is key as you commence on the "Cut to Size" phase of your arm warmer transformation. Embrace your creative freedom as you wield your scissors with flair. Here's your stylishly innovative guide:
- Measure with Purpose: Use measuring techniques that maximize the sock's stretch, ensuring the perfect snug fit.
- Mark Your Limits: Identify and mark where the arm warmers should begin and end. Style meets function here.
- Choose Your Cutting Method: Opt for sharp fabric scissors for clean, precise cuts. No jagged edges, just smooth elegance.
- Cut with Confidence: With your outlined path, cut steadily and evenly, transforming old socks into chic arm warmers.
Your attention to detail elevates this DIY project from simple to simply fabulous.
Create Thumb Holes
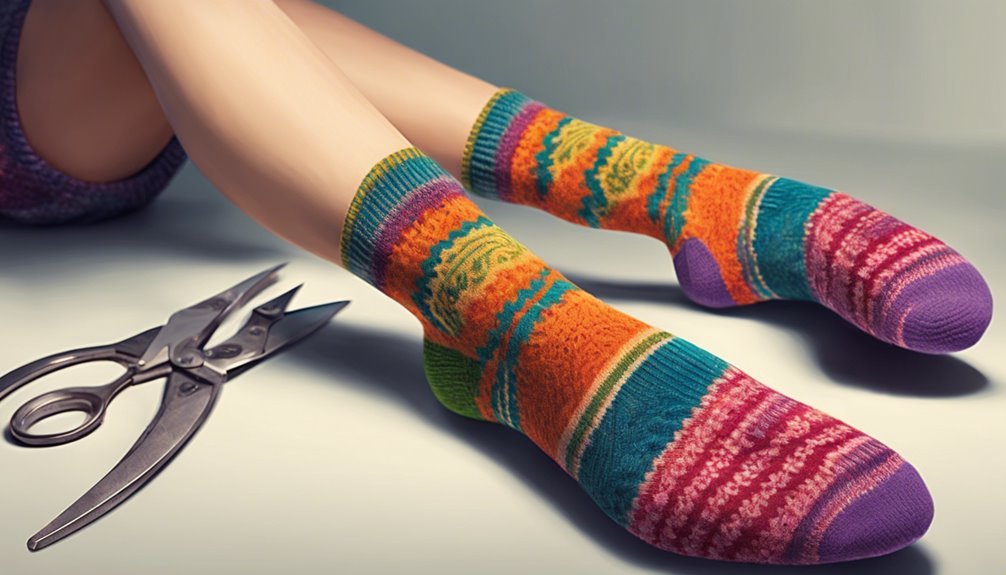
Having skillfully cut your socks to size, it's time to add a touch of practicality and flair with thumb holes. This small addition transforms your arm warmers from simple to stunning. Begin by slipping the sock onto your hand and marking where your thumb naturally rests. Precision is key here—freedom in movement requires perfect placement.
Once marked, use sharp scissors to create a small slit. Opt for thumb hole techniques that embrace minimalism, guaranteeing comfort and style. If you're handy, a simple zigzag stitch around the opening can reinforce the fabric, preventing fraying. For those who prefer no-sew solutions, fabric glue provides an easy fix. These sewing methods guarantee your creation remains durable yet fashion-forward, a reflection of your innovative spirit.
Finish the Edges
To elevate your arm warmers to a polished, professional finish, focus on crafting clean edges. Edge finishing isn't just a step; it's an artful expression of style. Let's make those edges sleek and secure:
- Trim Wisely: Use sharp scissors to snip away any frayed bits for a smooth baseline.
- Fabric Sealing Magic: Apply a fabric sealant along the edges to prevent unraveling and guarantee durability.
- Stitch It Up: Opt for a zigzag stitch along the edge, embracing both function and flair.
- Roll with It: Consider a rolled hem for a neat, minimalist look that's effortlessly chic.
These steps aren't just about finishing; they're about liberating your creativity, ensuring your arm warmers make a stylish statement.
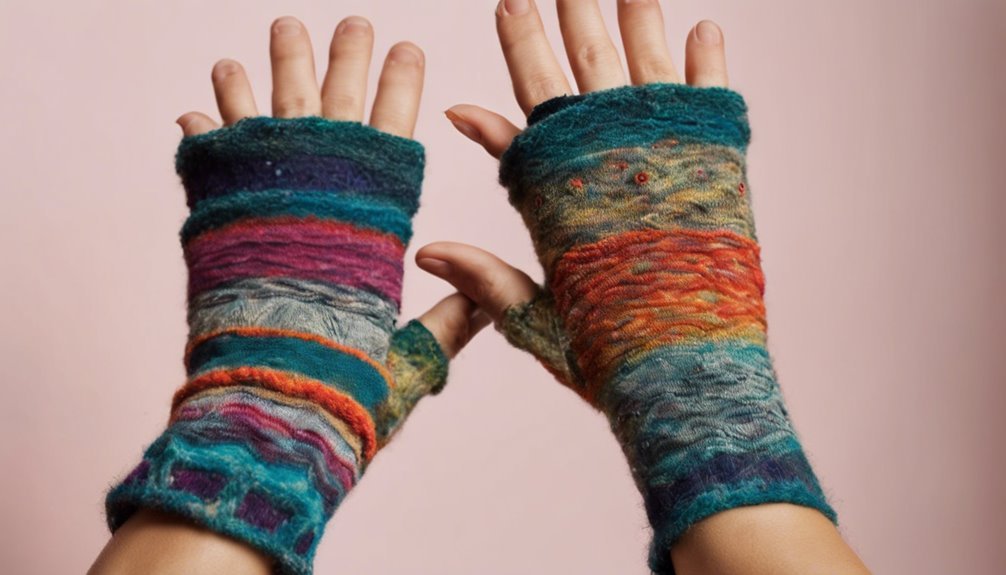
Add Decorative Touches
Once you've perfected those edges, it's time to infuse your arm warmers with personality by adding decorative touches. Release your creativity by exploring embellishment techniques that speak to your unique style. Consider fabric paint for bold, vibrant designs that pop against the fabric. Create intricate patterns or abstract art—whatever feels like an extension of your spirit.
For a touch of whimsy, experiment with sequins or beads. Carefully sew them along the edges or scatter them across the surface for a dazzling effect. If you crave a bohemian vibe, attach some lace or ribbon for a textured look. Don't hesitate to mix and match these techniques. Remember, your arm warmers are a canvas, offering endless possibilities to express your fashion-forward freedom.
Test the Fit
Now that your arm warmers are a masterpiece of personal flair, it's important to assure they fit like a dream. Embrace your creativity with these stylish steps to ensure they hug your arms perfectly:
- Slip them on: Slide your arm warmers onto your arms, feeling for any snug or loose spots.
- Flex and stretch: Move your arms around, testing comfort as you go about daily activities.
- Check seams: Look closely at the seams for any pulling or gaps that might need fit adjustments.
- Pinch test: Gently pinch the fabric to see if there's excess material, indicating a need for trimming.
Style and Wear Your Arm Warmers
Ever wonder how to elevate your outfit with a touch of cozy sophistication? Arm warmers crafted from old socks are your secret weapon. Pair them with a sleek turtleneck and a tailored blazer for a chic, layered look. These fashion combinations create an effortless vibe while providing warmth. Experiment with layering techniques by wearing them over a long-sleeved shirt or under a chunky knit sweater for added texture. Choose neutral tones for a classic appeal or go bold with vibrant hues for a statement piece. Let your personality shine through by mixing prints and colors. Whether you're embracing a laid-back weekend vibe or adding flair to your work attire, your arm warmers promise both style and comfort.
Frequently Asked Questions
Can I Use Socks With Holes for This Project?
Did you know 85% of textiles end up in landfills? Embrace freedom with stylish recycling: transform holey socks into chic arm warmers. Crafting tips? Cut creatively, stitch securely, and let your imagination run wild.
How Do I Clean My Arm Warmers After Making Them?
You've got trendy arm warmers and need washing methods? Hand wash with mild detergent or use a delicate machine cycle. For drying techniques, lay them flat to air dry, preserving their shape and your stylish freedom.
Are There Any Eco-Friendly Alternatives to Using Old Socks?
You've got endless choices! Explore upcycled fabrics and sustainable materials like organic cotton or bamboo blends. They're eco-chic and guilt-free, letting you express creativity while staying on-trend and embracing a lifestyle that values freedom and sustainability.
Can I Make Arm Warmers for Kids Using the Same Method?
Absolutely, you can! With over 60% of parents seeking DIY solutions, transforming old socks into kids' arm warmers is trendy. Choose vibrant sock patterns and adjust for kids' sizes. Let creativity flourish, embracing freedom and sustainability!
What Type of Needle and Thread Is Best for Sewing Socks?
For hand sewing socks, choose a sharp needle type like a universal or ballpoint needle. Pair it with durable polyester thread. This combo guarantees flexibility and strength, letting your creativity flow freely without fear of unraveling.